
Amp builders and radio tinkerers since time immemorial (so ya know, 70ish years) have grabbed some scrap 2×4 to prop up their chassis. It works, but it doesn’t work great. It’s not the most stable system. It’s not elegant.
For a long time I used the following system:


It worked great and was absolutely rock solid. A 1″x12″ with a couple 2″x10″s screwed into it. The channel routed in the back kept the screw heads from digging into your work table.
The main problem with this setup was that if you hadn’t worked on an amp in the past you had to measure out the right distance, drill new screw holes, and then reassemble the whole structure. Once I started getting more work coming across my bench this just wasn’t a viable option any longer.
Enter updated plan – the adaptive workbench. I wanted something that I could adjust to any chassis size down from a tiny Champ to a Twin Reverb or Marshall without using any tools. Here are the photos showing what I built. You can click on each one for a larger version if you’d like – it will open in a new tab.
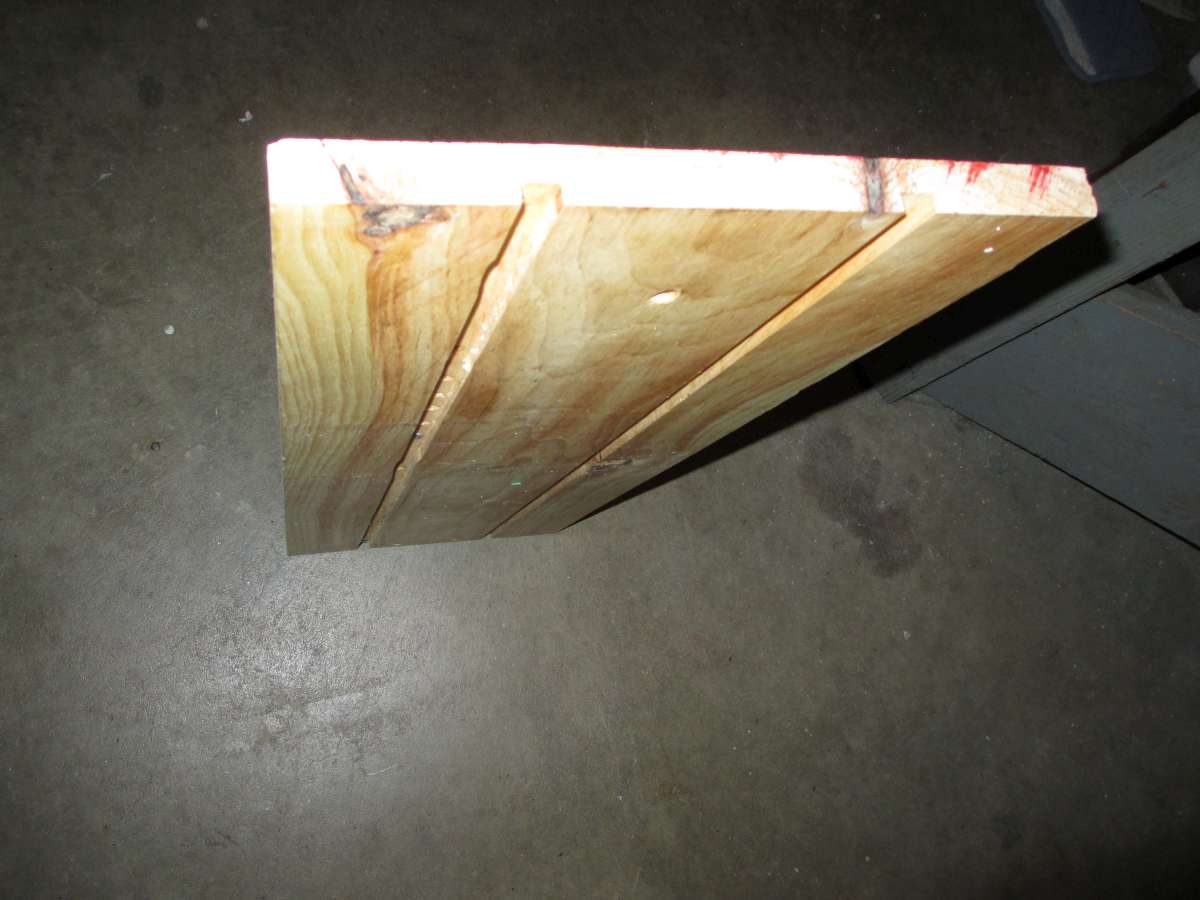
The raw lumber. This is some 1″x2″, 1″x10″, and 1″x12″ poplar.

Gluing up the sides

Gluing on the end piece

Trimming the entire structure to length. Cutting these all at once after the assembly will give it a nice finished look.

Applying finish to the main structure

Here’s the hardware I decided to go with. I got these “soft-touch” rubber star knobs and a box of appropriate T-nuts to attach them. They feel great when you turn them and they’re easy on your hands.

All the adjustment holes are drilled.

Making a jig to route the adjustment channel

Cutting that channel…

…and here is the finished cut.

T-nuts mounted into the bottom of the workbench.

Final assembly – it looks great!

Other angle

The inside – you can see how the adjustment system works. With 6 inches of travel on that bottom adjustment plate and the T-nuts every 5 inches I can get an infinite number of sizes so I always have exactly what I need.

Here it is holding a Fender Bronco chassis, which you may see in a future blog post.

With that done I now have a workbench that is ready for anything and I can set it up in just a few seconds. I you have any questions or comments just reply below!